Pages

March 21, 2013

Hot and Cold Desserts

The new class that I am in is called Hot and Cold Desserts. We are mainly making ice cream in this class and it is delicious. The other day my group made an ice cream called Full of Cropper. It is an espresso ice cream with brownie pieces and salted pecans. This is the recipe below:


“Full of Cropper”
4 lbs                Cream
4 lbs                Milk
2 lbs 4 oz         Sugar
2 lbs                Yolks
2(ea.)              Vanilla Bean
12 oz               Espresso Beans

Anglaise method: Heat cream and milk and vanilla beans, then take off the burner and poor into the yolks and sugar, whisk. Once everything is incorporated put back on the heat for a few minutes.
After making base and while still hot, place espresso beans in base and let steep for 10 minutes. Strain and then age for a few hours.
After churning add in brownie pieces and salted pecans. Swirl in caramel sauce. 
If you like coffee then you will love this ice cream!!


March 18, 2013

Fundamentals Final

Today was our last day in Fundamentals. For our final exam we had to make pastry cream, cream anglaise, cookies, diplomat cups, saute apples and julienne carrots. We accomplished all of this last Friday which was day eight, that way all we had left to do was build our tower out of royal icing. Our chef gave us a template of what the tower was supposed to look like. Throughout the week, we piped each piece out of royal icing and let them dry so that they were really hard. After all of the pieces were piped we used more icing to stick them together and to build our tower. These pieces are very fragile and will break very easily if you are too hard or clumsy with them. We eventually got out whole tower built and this is the final product.

March 12, 2013

Cupcake Wars!

Today was day 6 of my Fundamentals class. The main thing that we did today in class was a version of the Cupcake Wars on Food Network. We had three and a half hours to produce three dozen cupcakes with icing and a chocolate piped butterfly on top. We had groups of three and it went pretty well. My group made a red velvet cupcake with cream cheese icing and a pink butterfly on top. We started with the cake since it needed time to bake and then cool. We used the recipe below:                                            RED VELVET CAKE


INGREDIENT
LB.
OZ.
CAKE FLOUR
6
2
SUGAR
6
9
BAKING SODA
0
1.75
SALT
0
2
COCOA POWDER
0
1
OIL
7
3
BUTTERMILK
5
0
EGGS
2
2
RED FOOD COLORING
0
10
VINEGAR
0
1.75
VANILLA
0
2
 You take these ingredients and start with mixing the oil and sugar then add in the eggs. After that is incorporated, you add in the dry ingredients and then the liquids. Now this recipe above will make a lot of cupcakes so we had to convert it to make sure that it made only three dozen by making sure that each cupcake was 2 oz.
Then we went on to the icing. We made a simple mixture of butter, cream cheese and powdered sugar but you could easily just buy some cream cheese icing. 
To make the chocolate butterflies, we used an image and placed it under a piece of parchment paper and then took a piping bag and traced over the image. When dried they will become hard but they are extremely fragile so you have to be very careful with these. A lot of other groups filled in the wings and this would make the butterflies a little stronger.
When the cupcakes were cool we piped a rosette of icing on the cupcake and placed the butterfly on top. This is what our end result looked like:

March 6, 2013

Brunoise Cut

Today is my second day of Fundamentals. Today we learned to brunoise apples. This type of cut is a lot like the Julienne but then it is cut into cubes. This cut has a few more steps but it is very easy to learn.

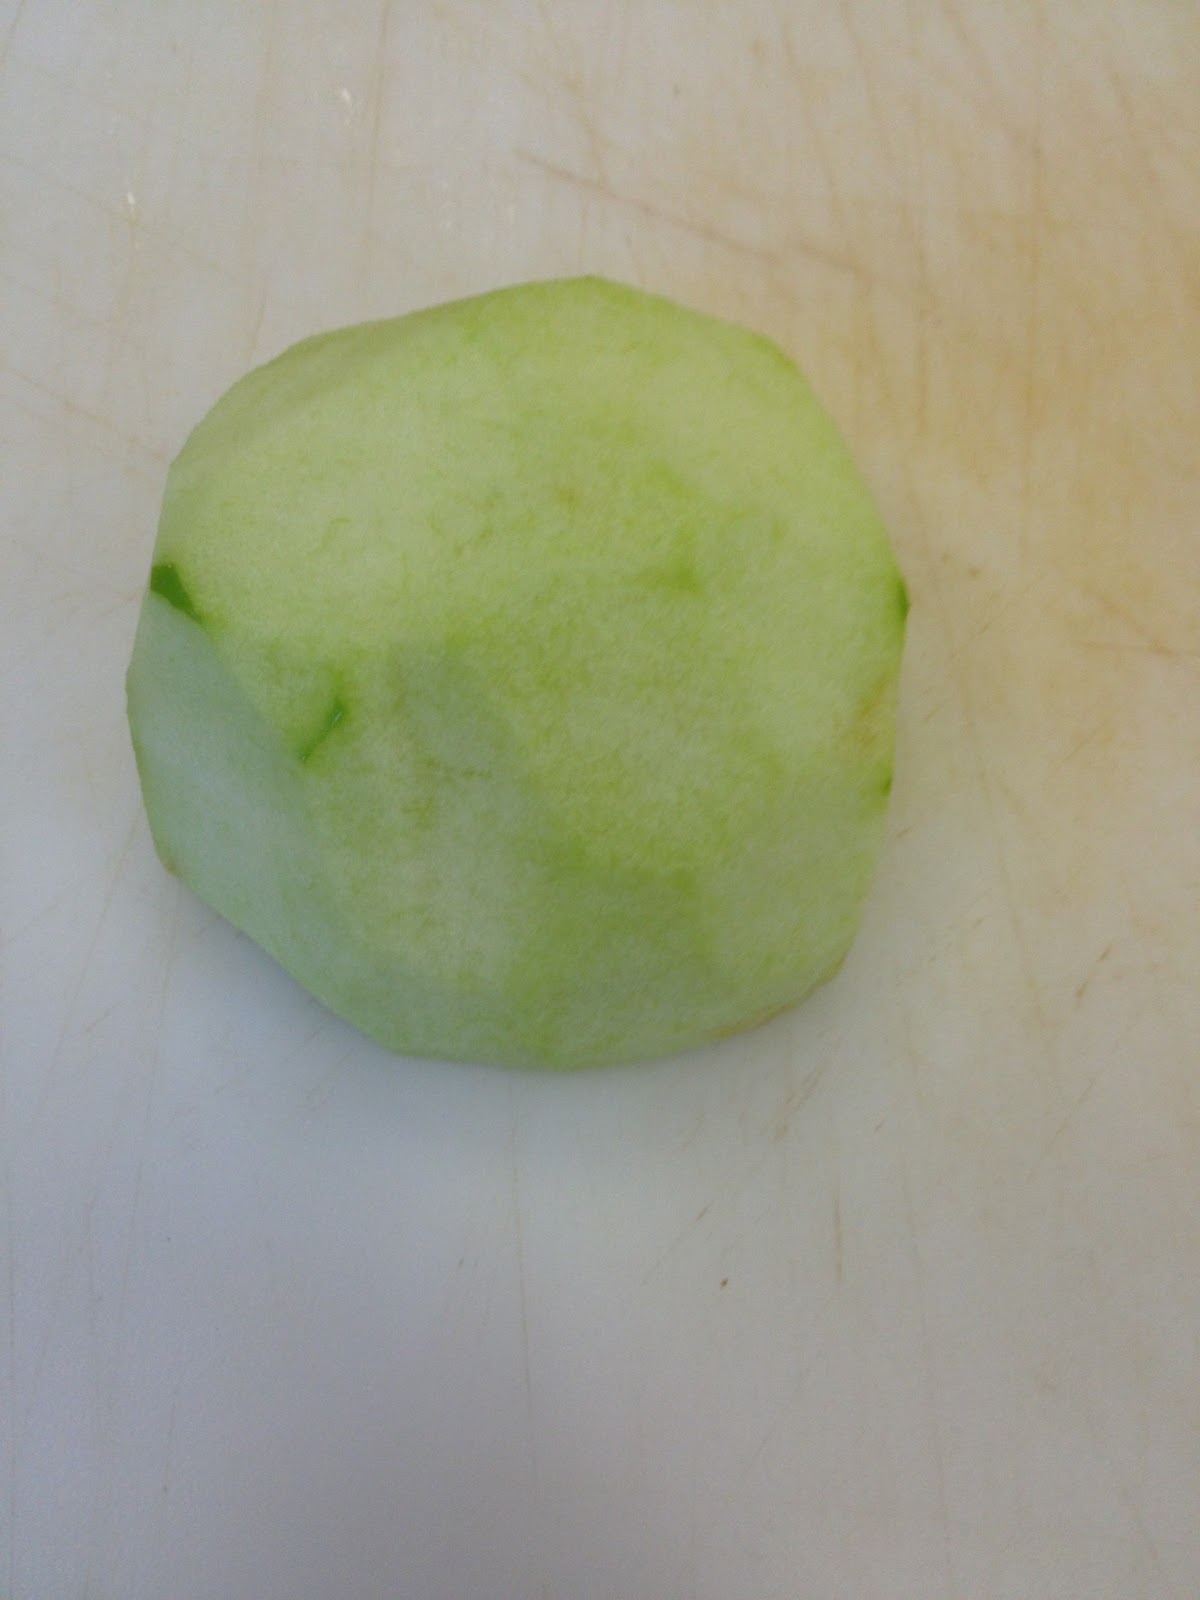
   Step 1: We used apples today in class so the first thing you have to do is cut the ends off and peal your apple. Instead of cutting the whole edge of the apple off you just take a pairing knife and cut in a circular motion around the stem.This should create the figure below.

Step 2: After the apple is pealed and the ends are cut off, you need to cut the apple in half and cut out the core. This is done by using the same circular motion around the core. If using a knife is difficult for you, you can simply use a melon baller to get the core out. 

Step 3: Once it is cut in half, you want to place it face down and cut it into strips that are approximately 1/8 of an inch. Its okay if they are not exact but try to get them the same size. When this half has been cut it should look something like the picture below. 

Step 4: You will now take these strips and cut each one down the length of the apple slice. This will create the Julienne cut. To make this easier and faster, you can stack multiple slices of apple and cut more than one at a time. This is an efficient way of doing this but if you need to take it slower and concentrate you can cut them one by one. Each slice will turn into slivers of apples like shown below.

Step 5: This is the final step and it is really easy. Now you take your slivers of apple and cut them into cubes. They are not all going to be perfectly square due to the fact that an apple is not square but they should at least be the same size. The final Brunoise apples should look something close to the picture below.

This is not a hard cut to learn how to due but it makes sure that all of your apples and other ingredients are chopped evenly. 


March 5, 2013

Julienne Cut

Hello everyone,
I am finally back in labs! Today was my first day back in the kitchen. My first class that I am in is Fundamentals. This class will focus mainly on knife skills and piping skills. Today we just learned different kinds of knife cuts. We used carrots and potatoes to practice our knife cuts. One of the cuts that we learned today was a Julienne cut.

The first step in making a Julienne cut is cutting the carrot into 2 inch pieces. To make this an exact cut you can place the vegetable beside a ruler and cut 2 inches.

The second step in this process is cutting a small piece off each side so it becomes a square. This is really helpful when cutting because it will make sure that the carrot won't roll away. Since the carrot is round it can be very dangerous to cut so this just makes it a little safer to cut. It will then look like the picture below. You will then proceed to cut 1/8 inch strips down the 2 inch side. This will create thin rectangles.


The last step in creating a Julienne cut is cutting the rectangles into 1/8 inch slivers. The picture below shows the finished product.
This type of cut is used to make vegetables more elegant when used raw. When these vegetables are cooked, cutting them all the same size will make sure that they cook evenly. It definitely takes practice to get them all the same size but it is not difficult to do. 

January 10, 2013

Bacon Maple Cupcakes

My brother had a birthday over the break too. This was the first year that he had to work on his birthday and since his birthday is early January he never went to school on his birthday either. So he wanted to take in something for all of his co-workers. So I made him bacon maple cupcakes.


Maple Bacon Cupcakes:
 Cake:
Chocolate box cake mix and ingredients to make it (or any chocolate cake recipe)
4 strips of bacon chopped finely
2 Tbsp of maple syrup (optional)

Icing:
1 (8 ox) package of cream cheese
1 stick of butter (1/2 cup)
2 cups powdered sugar
1 Tbsp maple flavoring
½ tsp vanilla extract
Maple syrup (optional)

Directions:
Make the cake mix like it says on the box. Add in the chopped bacon and maple syrup. Bake according to the directions on the box. Let cool.
In a mixing bowl, cream the soften butter and cream cheese together. Add in the maple flavoring and then the powdered sugar. Add powdered sugar or more maple flavoring if needed. Ice the cupcakes and place some more chopped bacon on top.

He loved this cupcakes and the ones he took into work were all gone very quickly. They sound a little weird and some people may be apprehensive but they are delicious!!

Snow Globe Cake

Hi everyone,
Well I am still in the middle of academics but I have made a few cakes over the winter holiday that i wanted to share with you. For my mom's and grandma's birthday I tried to make a special cake just for them. This is my snow globe cake. It is just a two layer gluten free cake cover in cream cheese icing. I put shredded coconut on the sides because it looks like snow and the birthday girls love it. The snowman is made out of fondant. Three white balls are stacked on top of each other with a flat red strand around the neck for a scarf. And also a black top hat and a small orange cone for the nose. I put the buttons and the eyes on by using a toothpick and dipped it in black food coloring and just put the dots on.
The tree was my favorite. You just take an ice cream cone (I had two on top of each other but you could just use one) and then using a star tip, start at the bottom and pipe little stars then pull out making the leaves. I used my thumb and first two fingers to hold the inside of the cone and worked my way up to the top which made it easier to hold. Once the tree was all piped, I used a sifter to dust powdered sugar to look like snow and add sprinkles as ornaments.When I was done with all of the decorations, I placed them on the cake wherever I wanted. I then put a bowl upside down over the tree and snowman for the top of the globe. You have to make sure that the tree will fit into the bowl before you try to put it on top. Now the last thing that I did was put a little bit of icing on the very top of the bowl, well actually the bottom of the bowl but the top of the globe, and put more coconut on top. I only did this because the globe would have been flat on the top and the coconut just gives it a rounder look. My mom and grandma loved this cake and I hope you do too!