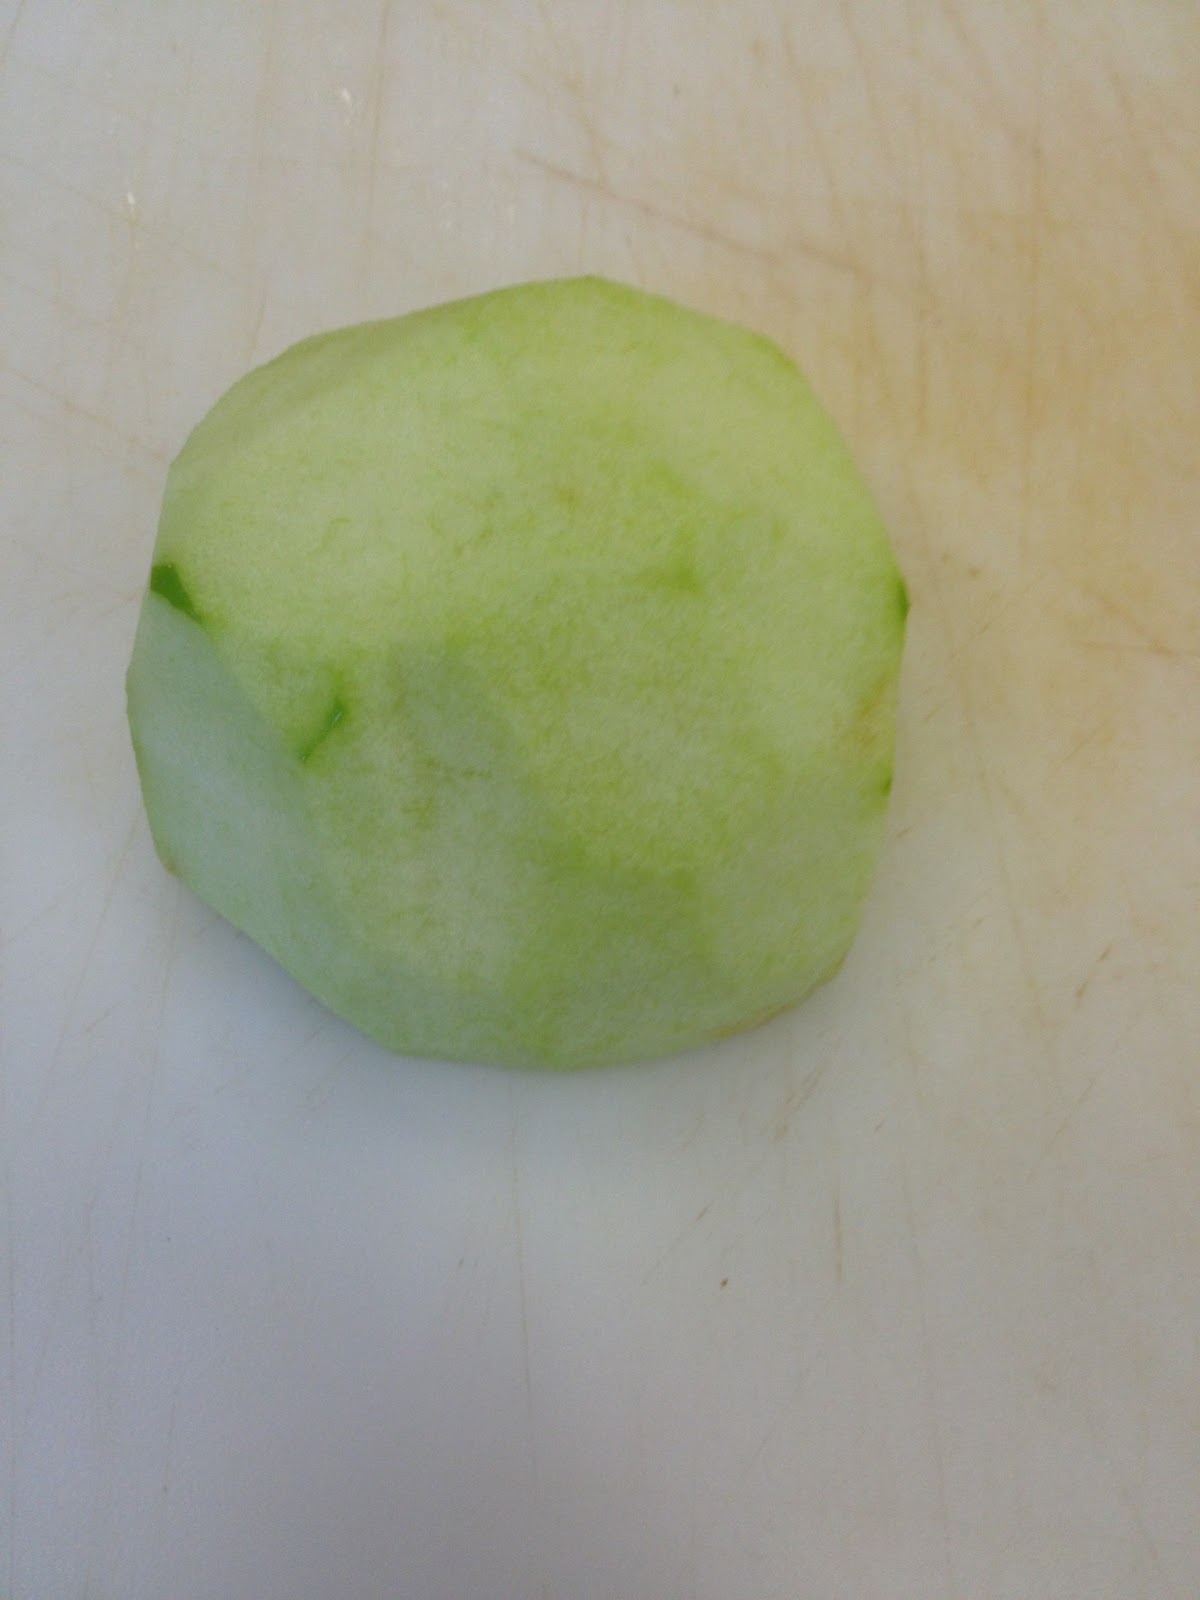
Step 1: We used apples today in class so the first thing you have to do is cut the ends off and peal your apple. Instead of cutting the whole edge of the apple off you just take a pairing knife and cut in a circular motion around the stem.This should create the figure below.

Step 2: After the apple is pealed and the ends are cut off, you need to cut the apple in half and cut out the core. This is done by using the same circular motion around the core. If using a knife is difficult for you, you can simply use a melon baller to get the core out.
Step 3: Once it is cut in half, you want to place it face down and cut it into strips that are approximately 1/8 of an inch. Its okay if they are not exact but try to get them the same size. When this half has been cut it should look something like the picture below.

Step 4: You will now take these strips and cut each one down the length of the apple slice. This will create the Julienne cut. To make this easier and faster, you can stack multiple slices of apple and cut more than one at a time. This is an efficient way of doing this but if you need to take it slower and concentrate you can cut them one by one. Each slice will turn into slivers of apples like shown below.

Step 5: This is the final step and it is really easy. Now you take your slivers of apple and cut them into cubes. They are not all going to be perfectly square due to the fact that an apple is not square but they should at least be the same size. The final Brunoise apples should look something close to the picture below.

This is not a hard cut to learn how to due but it makes sure that all of your apples and other ingredients are chopped evenly.
No comments:
Post a Comment